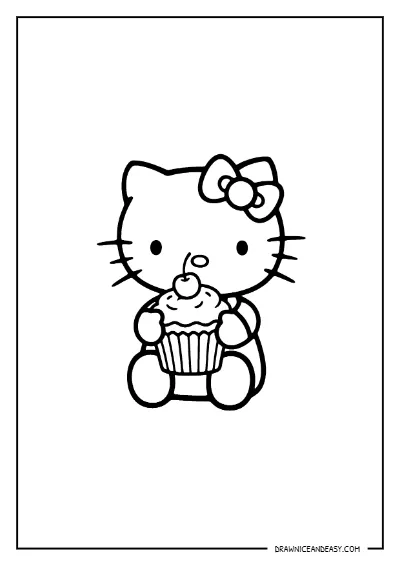
5 Creative Crafts You Can Make Using Free Hello Kitty Coloring Pages
5 Creative Crafts You Can Make Using Free Hello Kitty Coloring Pages
Hello Kitty has been capturing hearts around the world for decades. With her iconic bow, sweet simplicity, and endless array of cute outfits, she is a favorite character for kids and nostalgic adults alike. While coloring in simple line art is a classic afternoon activity, why stop there? Free printable Hello Kitty coloring pages offer a gateway to a world of budget-friendly, imaginative crafting.
Transforming standard coloring sheets into hands-on craft projects is an excellent way to boost creativity, enhance fine motor skills, and keep young minds engaged without breaking the bank. Whether you are a parent looking for rainy-day activities, a teacher seeking engaging classroom projects, or a Sanrio enthusiast looking for DIY decor, here are 5 creative crafts you can make using free Hello Kitty coloring pages!
Why Turn Coloring Pages into Crafts?
Before diving into the tutorials, let's explore why upcycling coloring pages into craft projects is so beneficial for child development:
- Enhances Fine Motor Skills: Cutting out complex shapes with safety scissors strengthens hand muscles and improves hand-eye coordination.
- Fosters Spatial Awareness & 3D Thinking: Turning a flat 2D coloring sheet into a 3D object helps children understand dimensions and structural design.
- Encourages Creative Expression: Adding textures, glitter, fabric scraps, and mixed media allows kids to explore beyond the lines.
- Promotes Patience and Focus: Multi-step crafts require sequence comprehension, planning, and sustained attention.
Now, let's turn those printed pages into delightful craft projects!
1. DIY Hello Kitty Stick Puppets & Storytelling Stage
Bring Hello Kitty and her friends to life with easy-to-make stick puppets! This project encourages dramatic play, language development, and original storytelling.
Materials Needed:
- Printable Hello Kitty coloring pages
- Colored pencils or washable markers
- Cardstock or heavy paper
- Popsicle sticks or wooden craft dowels
- Glue stick and clear tape
- Safety scissors
Step-by-Step Instructions:
- Color the Characters: Have your child color their favorite Hello Kitty scenes and characters using bright, bold colors.
- Backing for Support: Glue the completed coloring page onto a sheet of sturdy cardstock.
- Cut Out the Shapes: Carefully cut out Hello Kitty following her outline, leaving a thin border around the edge for extra stability.
- Attach the Stick: Tape or glue a wooden popsicle stick securely to the back of the cardstock cutout.
- Build a Mini Stage (Optional): Turn an old shoebox on its side, decorate the interior with construction paper, and cut a slot in the top or bottom to slide puppets through for a mini puppet show!
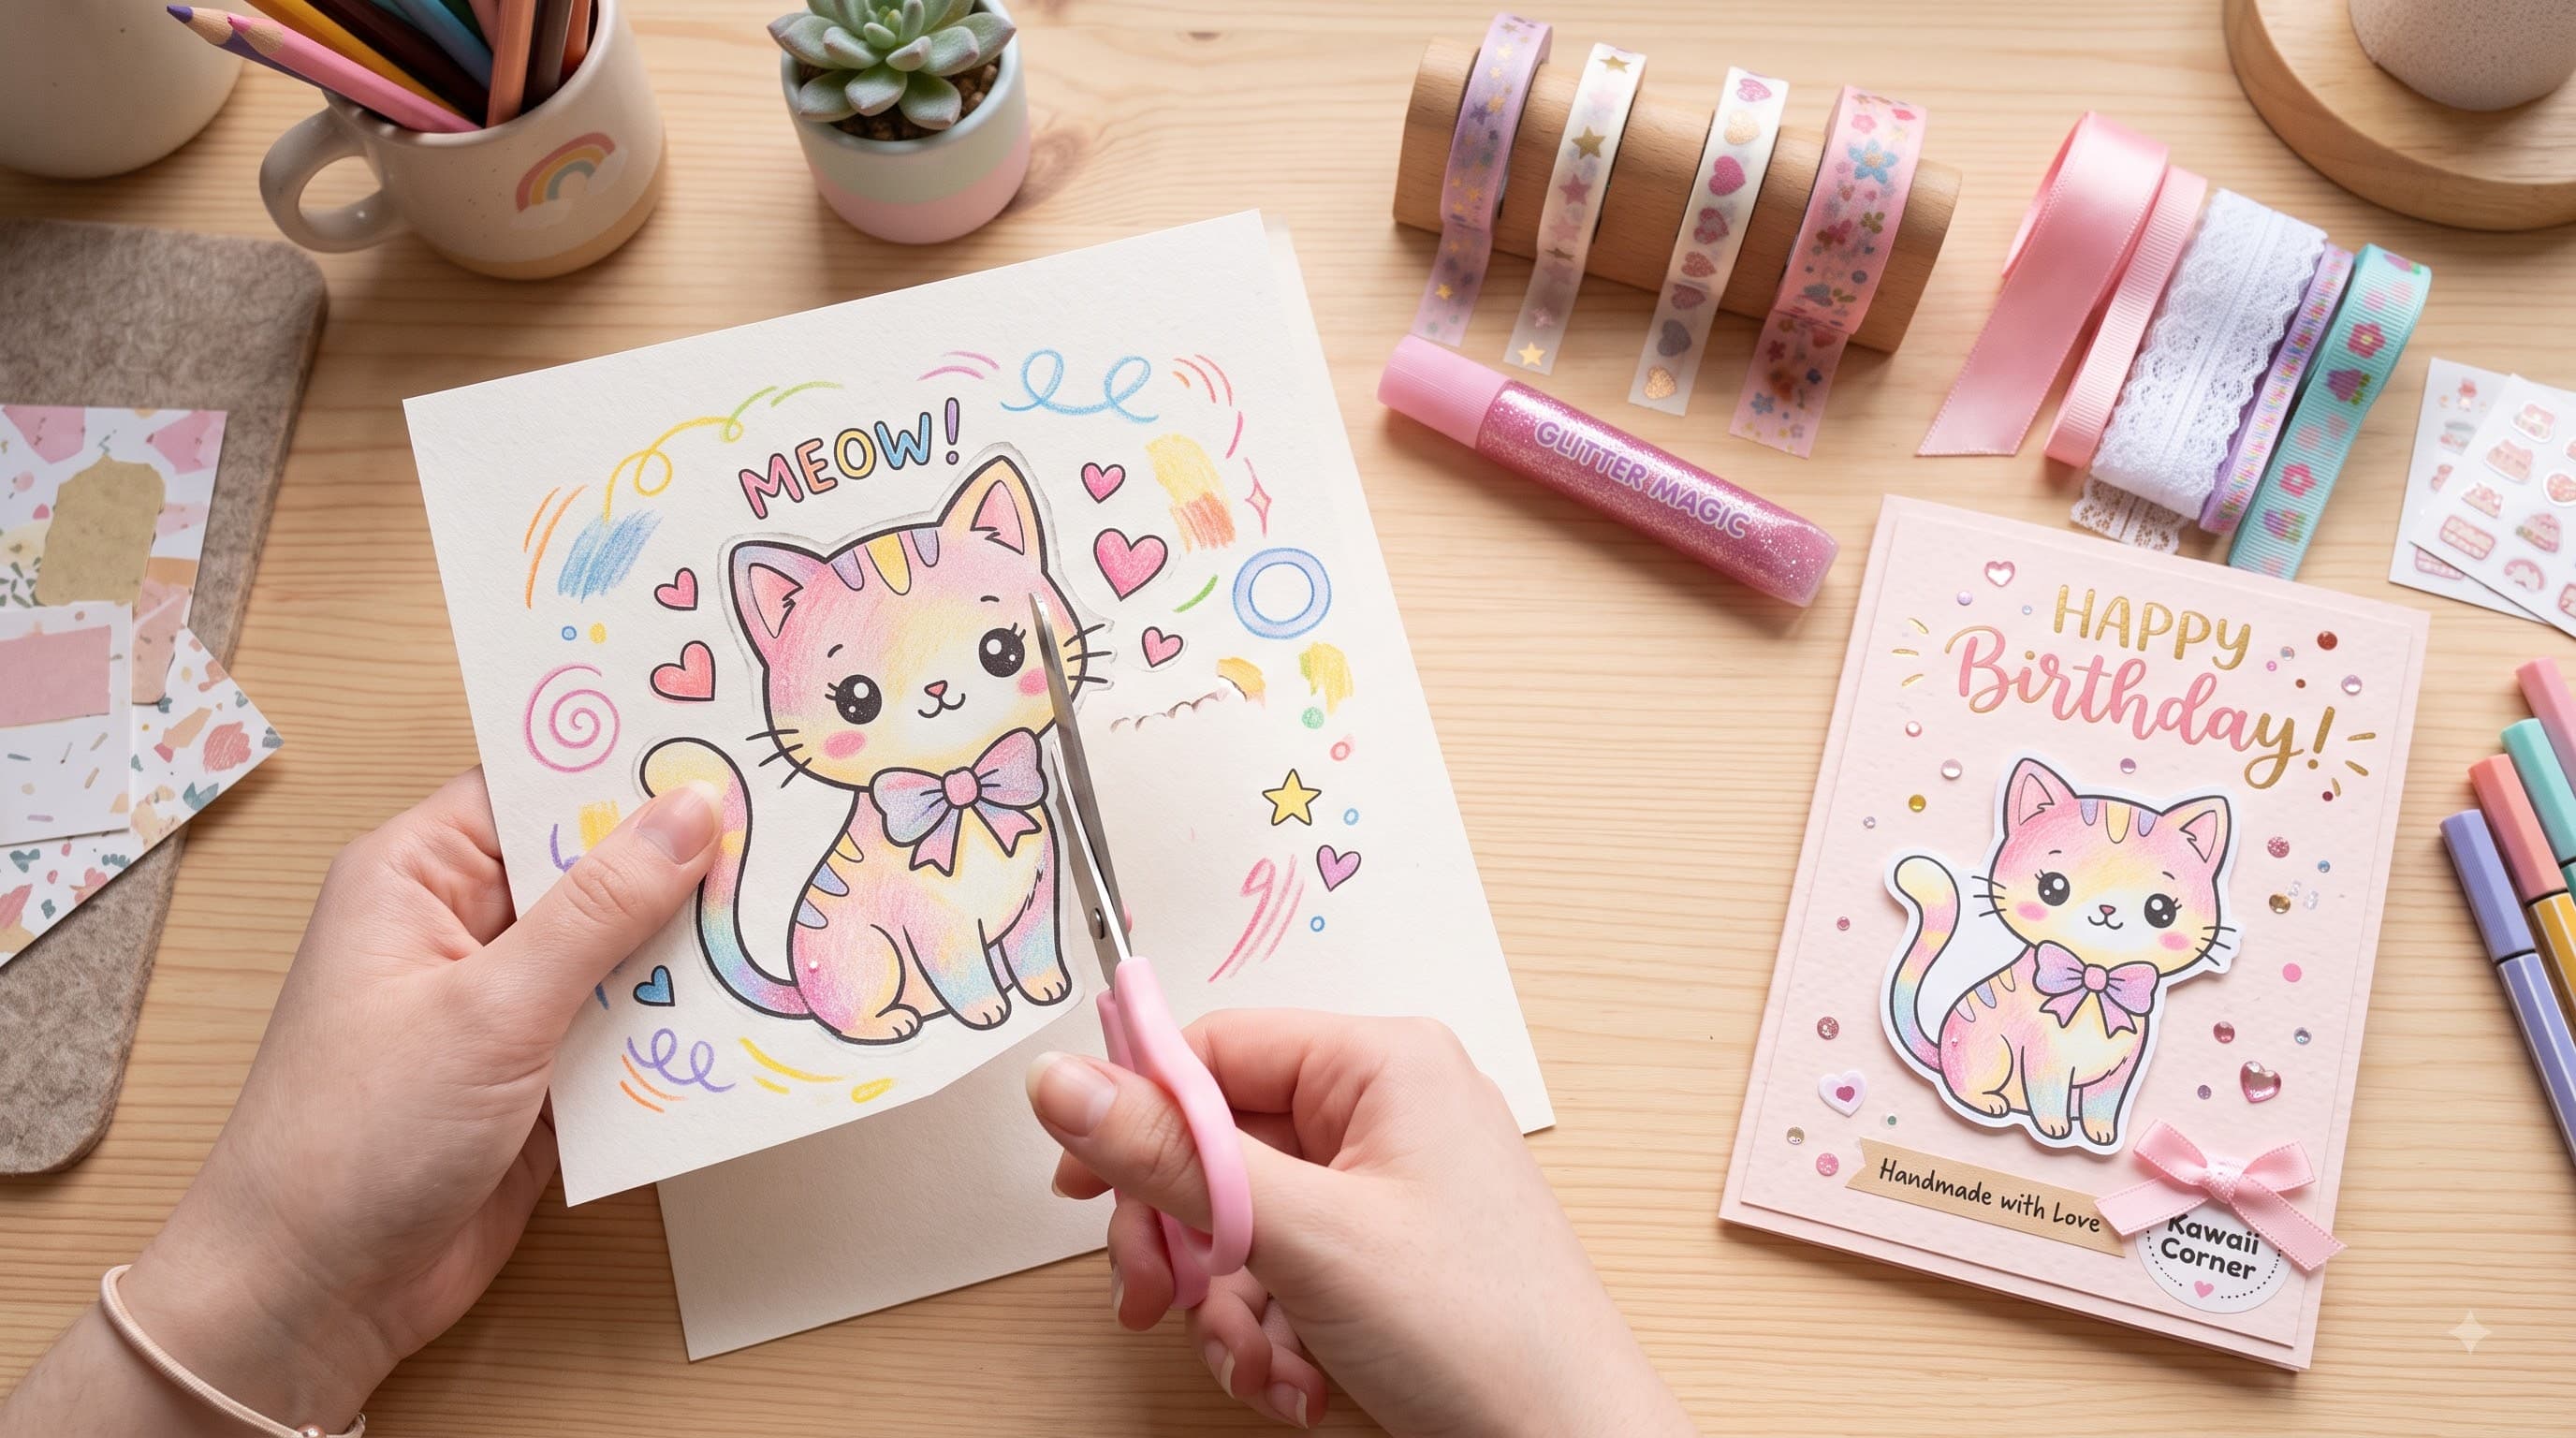
2. Personalized Hello Kitty Greeting Cards & Gift Tags
Nothing says "I care" like a handmade card. Instead of buying expensive store-bought birthday or thank-you cards, let your child design custom Hello Kitty stationery using free printables.
Materials Needed:
- Hello Kitty coloring sheets
- Colored cardstock folded into card bases
- Craft glue or double-sided tape
- Ribbons, sequins, or glitter glue
- Fine-tip gel pens for writing messages
Step-by-Step Instructions:
- Scale and Print: Print Hello Kitty coloring pages at a reduced scale (e.g., 50% or 4-to-a-page) to fit standard card dimensions.
- Color and Embellish: Fill in the artwork with colored pencils or markers. Add a dash of glitter glue on Hello Kitty's signature bow for an extra pop of sparkle.
- Assemble the Card: Cut out the colored image and glue it onto the front of a folded piece of cardstock.
- Add Text & Details: Use gel pens to write friendly messages like "Have a Purr-fect Birthday!" or "Thank You!".
3. Hello Kitty Nightlight Paper Lanterns
Create a cozy bedroom glow with custom paper lanterns! This craft turns simple coloring pages into charming room decor that illuminates your child's favorite character.
Materials Needed:
- Printed Hello Kitty coloring pages on standard printer paper
- Clean, empty glass jars or recycled plastic containers
- Mod Podge or diluted PVA glue
- Sponge brush
- Battery-operated LED tealights (never use real candles!)
Step-by-Step Instructions:
- Color Lightly: Color the Hello Kitty sheet using crayons or colored pencils. Avoid heavy dark markers, as light needs to shine through the paper.
- Fit the Image: Trim the coloring page so it fits around the outer perimeter of your clean jar.
- Decoupage the Jar: Apply a thin layer of Mod Podge to the glass jar using a sponge brush. Wrap the coloring page smoothly around the jar, pressing out air bubbles.
- Seal and Dry: Apply another thin layer of Mod Podge over top of the paper to seal it. Allow it to dry completely.
- Light It Up: Drop a battery-operated LED candle inside the jar and watch your custom Hello Kitty lantern shine!
4. Hello Kitty Ribbon Bookmarks
Encourage a love for reading with adorable, durable Hello Kitty bookmarks! This quick craft is perfect for rainy days, party favors, or classroom reward activities.
Materials Needed:
- Small Hello Kitty printable coloring figures
- Cardstock strips (approx. 2 x 6 inches)
- Hole puncher and colorful satin ribbons
- Laminating sheets or clear contact paper
- Scissors and glue
Step-by-Step Instructions:
- Color and Cut: Color small Hello Kitty figures in vibrant shades, then cut them out carefully.
- Mount on Strips: Glue the cutouts onto colorful cardstock bookmark strips.
- Laminate for Durability: Cover both sides of the bookmark with clear contact paper or run it through a laminator to make it spill-proof.
- Add Ribbon: Punch a hole at the top of the bookmark and thread a colorful ribbon through, tying a simple knot.
5. 3D Layered Hello Kitty Canvas Wall Art
Turn budget-friendly coloring pages into boutique-style nursery or bedroom wall decor using a pop-up layering technique.
Materials Needed:
- Two identical prints of the same Hello Kitty coloring page
- Small blank artist canvas (8x10 inches) or wooden plaque
- Acrylic paint for canvas background
- Foam mounting tape (3D foam dots)
- Scissors, markers, and craft glue
Step-by-Step Instructions:
- Paint the Canvas: Paint the background of your canvas in a soft pastel shade (like pink, lavender, or mint green) and let it dry.
- Color Both Sheets: Color both printed sheets identically using bright markers or watercolors.
- Create Base Layer: Glue sheet #1 directly onto the center of the painted canvas.
- Cut Elements for 3D Effect: From sheet #2, carefully cut out key foreground elements—such as Hello Kitty's bow, her face, or a flower she is holding.
- Apply Foam Dots: Place 3D foam mounting dots on the back of the cutouts from sheet #2 and adhere them directly over the matching sections on sheet #1. This creates a striking 3D pop-out effect!
Spark Creativity with Free Printables Today!
Crafting with free printable coloring pages is a fantastic way to bridge the gap between simple art activities and high-engagement creative projects. By taking a simple printable sheet and adding structural elements, textures, and practical functions, children develop crucial cognitive and motor skills while enjoying hours of screen-free fun.
Ready to start your next creative project? Explore our vast collection of free Hello Kitty coloring pages on Draw Nice and Easy, print out your favorite designs, and let your imagination take the lead!
Hello Kitty Coloring Pages
Download free Hello Kitty world coloring pages as printable PDFs! Cute designs for kids and adults featuring classic Hello Kitty, friends, holidays, and more. Print instantly — no sign-up needed!
Free Printables in this Collection
Download high-resolution PDF coloring sheets ready to print at home.
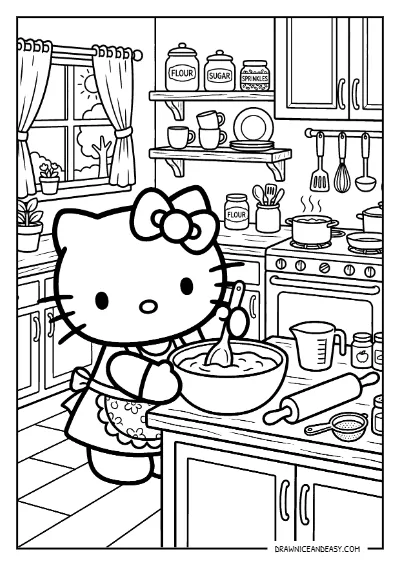
Hello Kitty Baking in the Kitchen Coloring Page – Free PDF
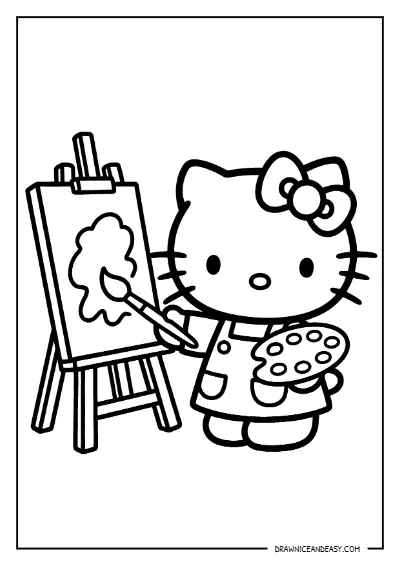
Hello Kitty Painting Canvas Coloring Page – Free PDF
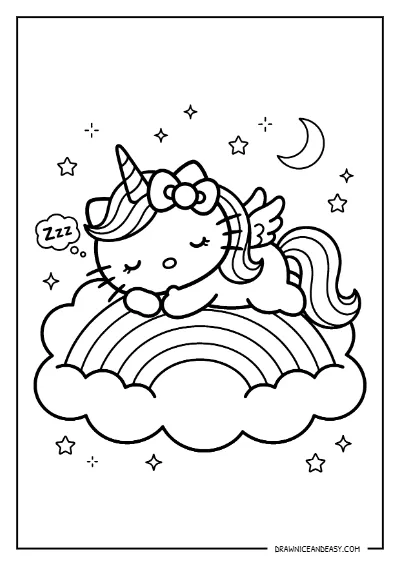
Hello Kitty Unicorn Rainbow Cloud Coloring Page – Free PDF
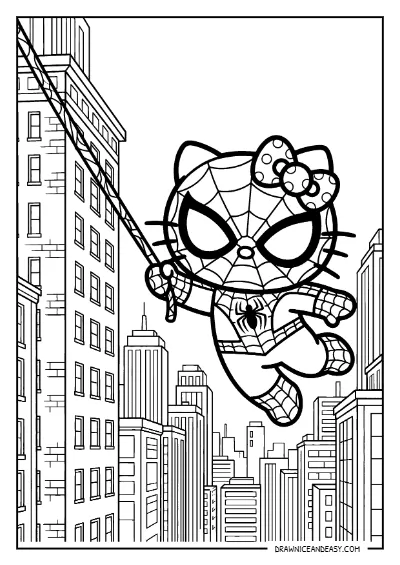
Hello Kitty and Spiderman Superhero Coloring Page – Free PDF
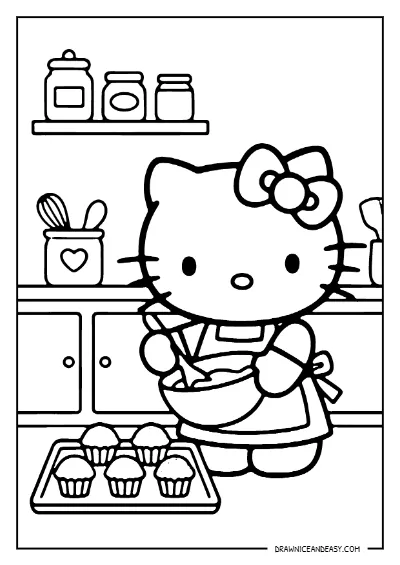
Hello Kitty Baking Cupcakes Coloring Page – Free PDF
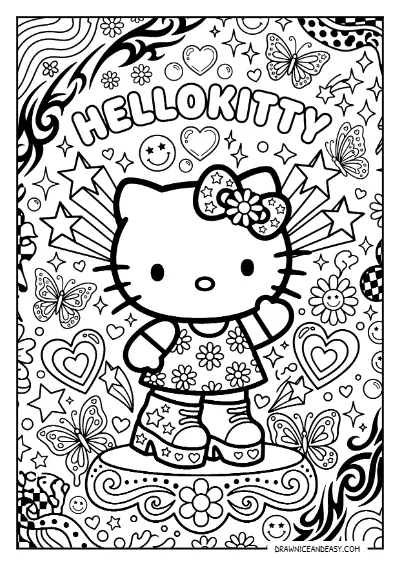
Hello Kitty Aesthetic Y2K Style Coloring Page – Free PDF
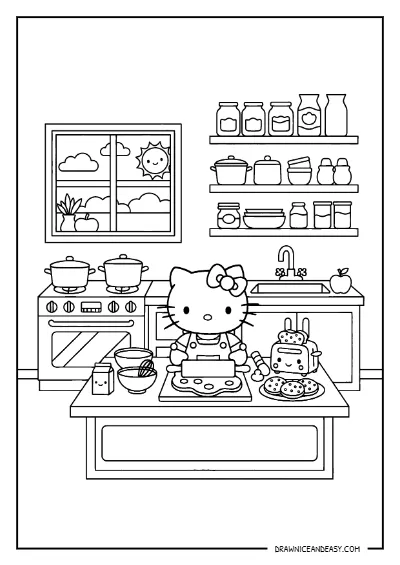
Hello Kitty Kitchen Cooking Scene Coloring Page – Free PDF
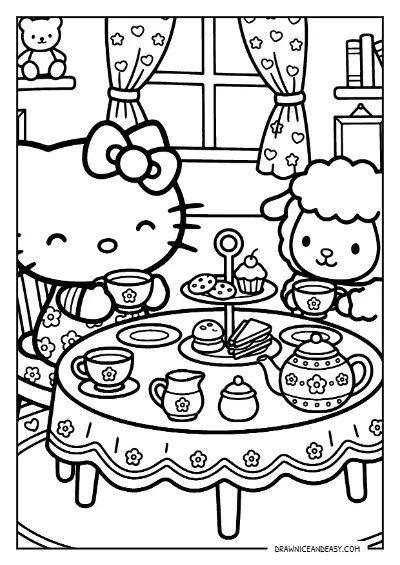
Hello Kitty Tea Party Dessert Coloring Page – Free PDF
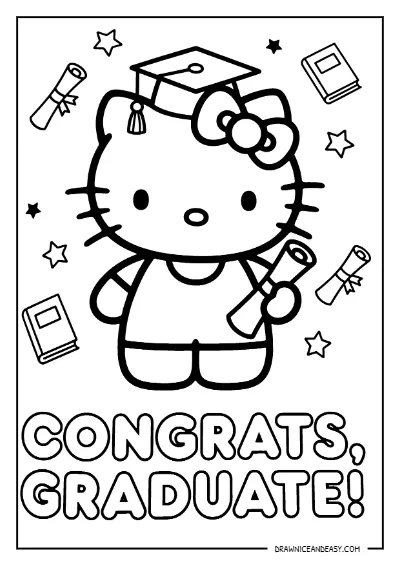
Hello Kitty Graduation Cap Coloring Page – Free PDF
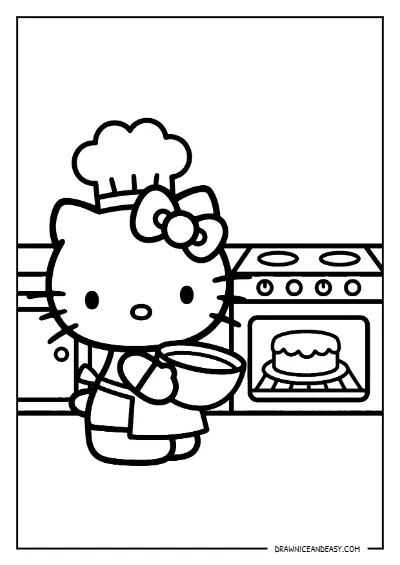
Hello Kitty Baking Cake Kitchen Coloring Page – Free PDF
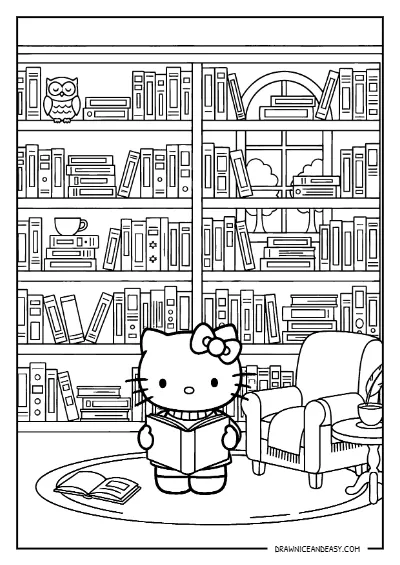
Hello Kitty Library Reading Room Coloring Page – Free PDF