A Beginner's Guide to Shading and Blending with Colored Pencils
A Beginner's Guide to Shading and Blending with Colored Pencils
There is something uniquely comforting about sitting down with a fresh batch of colored pencils and a crisp printed coloring page. Whether you are a parent looking to enrich your child's creative playtime, an educator searching for engaging classroom art activities, or a adult hobbyist rediscovering the joy of coloring, colored pencils offer an accessible gateway to creative expression.
While filling in black-and-white outlines with flat color is relaxing, learning how to shade and blend transforms simple printable coloring pages into dynamic, three-dimensional artwork. In this comprehensive beginner's guide, we will break down the essential techniques of shading and blending, explore how these skills foster child development, and provide step-by-step practices you can try today.
Why Learn Shading and Blending? The Developmental Benefits
Before diving into the technical steps, it is worth asking: why invest time in mastering pencil control beyond basic coloring?
For young artists, learning to shade and blend is much more than a visual upgrade—it is a powerful developmental tool:
- Enhances Fine Motor Skills & Hand Control: Shading requires varying pressure from very light to firm. This control strengthens the small muscle groups in the hands and wrists essential for handwriting.
- Fosters Spatial Awareness & Depth Perception: Understanding light source, highlights, and shadows helps children visualize objects in three dimensions, reinforcing concepts taught in basic geometry and science.
- Encourages Focus and Mindfulness: The rhythmic, deliberate motion of blending colors helps lower stress levels and lengthens attention spans in both children and adults.
- Boosts Visual Literacy & Color Theory: Combining primary and secondary colors teaches kids how colors interact naturally, building an intuitive understanding of the color wheel.
Essential Supplies to Get Started
You do not need expensive, professional-grade art gear to achieve remarkable results. However, having the right basic tools will make blending and shading significantly smoother.
- Quality Colored Pencils: Look for wax-based or oil-based pencils with soft cores. Soft-core pencils lay down rich pigment easily, which is crucial for blending.
- High-Quality Printable Coloring Pages: Standard printer paper works fine for beginners, but printing your favorite coloring pages on slightly thicker paper (such as 24lb or 28lb bright white paper or light cardstock) prevents tearing during heavy blending.
- Pencil Sharpener: A sharp pencil point allows for precision, especially when filling in tight spaces or applying fine hatching strokes.
- Blending Tools (Optional): A colorless blender pencil, a blending stump (tortillon), or even a cotton swab can be used to smooth out pencil strokes.
3 Core Shading Techniques Every Beginner Should Know
Shading is the process of applying varying tones of color to create the illusion of light, depth, and volume. Here are the three most fundamental shading techniques to practice.
1. Pressure Control (Gradation)
Pressure control is the foundation of colored pencil shading. By adjusting how hard you press down on the paper, you can create a smooth gradient from dark to light using just a single pencil.
- Practice Tip: Draw a long rectangle on a piece of scratch paper. Start at one end with firm pressure to create a deep, saturated tone. Gradually lighten your hand pressure as you move toward the opposite end until the color fades into the white paper.
2. Circulism (Micro-Circles)
Instead of dragging your pencil back and forth in harsh straight lines, use tiny, overlapping circular strokes. Circulism eliminates distracting pencil lines and creates a smooth, velvety texture ideal for skin tones, animal fur, or soft backgrounds.
- Practice Tip: Keep the pencil moving in tiny, coin-sized loops without lifting it from the page. Maintain a light touch to build up color evenly.
3. Hatching and Cross-Hatching
Hatching consists of drawing closely spaced parallel lines. Cross-Hatching takes this a step further by crisscrossing those lines at angles to build texture and shadows. This technique is fantastic for architectural elements, tree bark, or stylized illustration styles.
Easy Blending Techniques for Smooth Color Transitions
Blending takes your shading to the next level by seamless mixing two or more colors together. Here are three simple methods tailored for beginners.
Method A: The Layering Technique (Optical Blending)
This technique uses no special tools—just light layers of colored pencils.
- Apply the Lightest Color First: Color the entire section with a soft layer of your lightest hue (e.g., light yellow).
- Add the Shadow Tone: Layer a darker color (e.g., orange or light red) into the shadow areas using light circular strokes.
- Blend with the Lightest Pencil: Go back over the transition area with your original light pencil, applying moderate pressure to fuse the pigments together.
Method B: Using a Colorless Blender Pencil
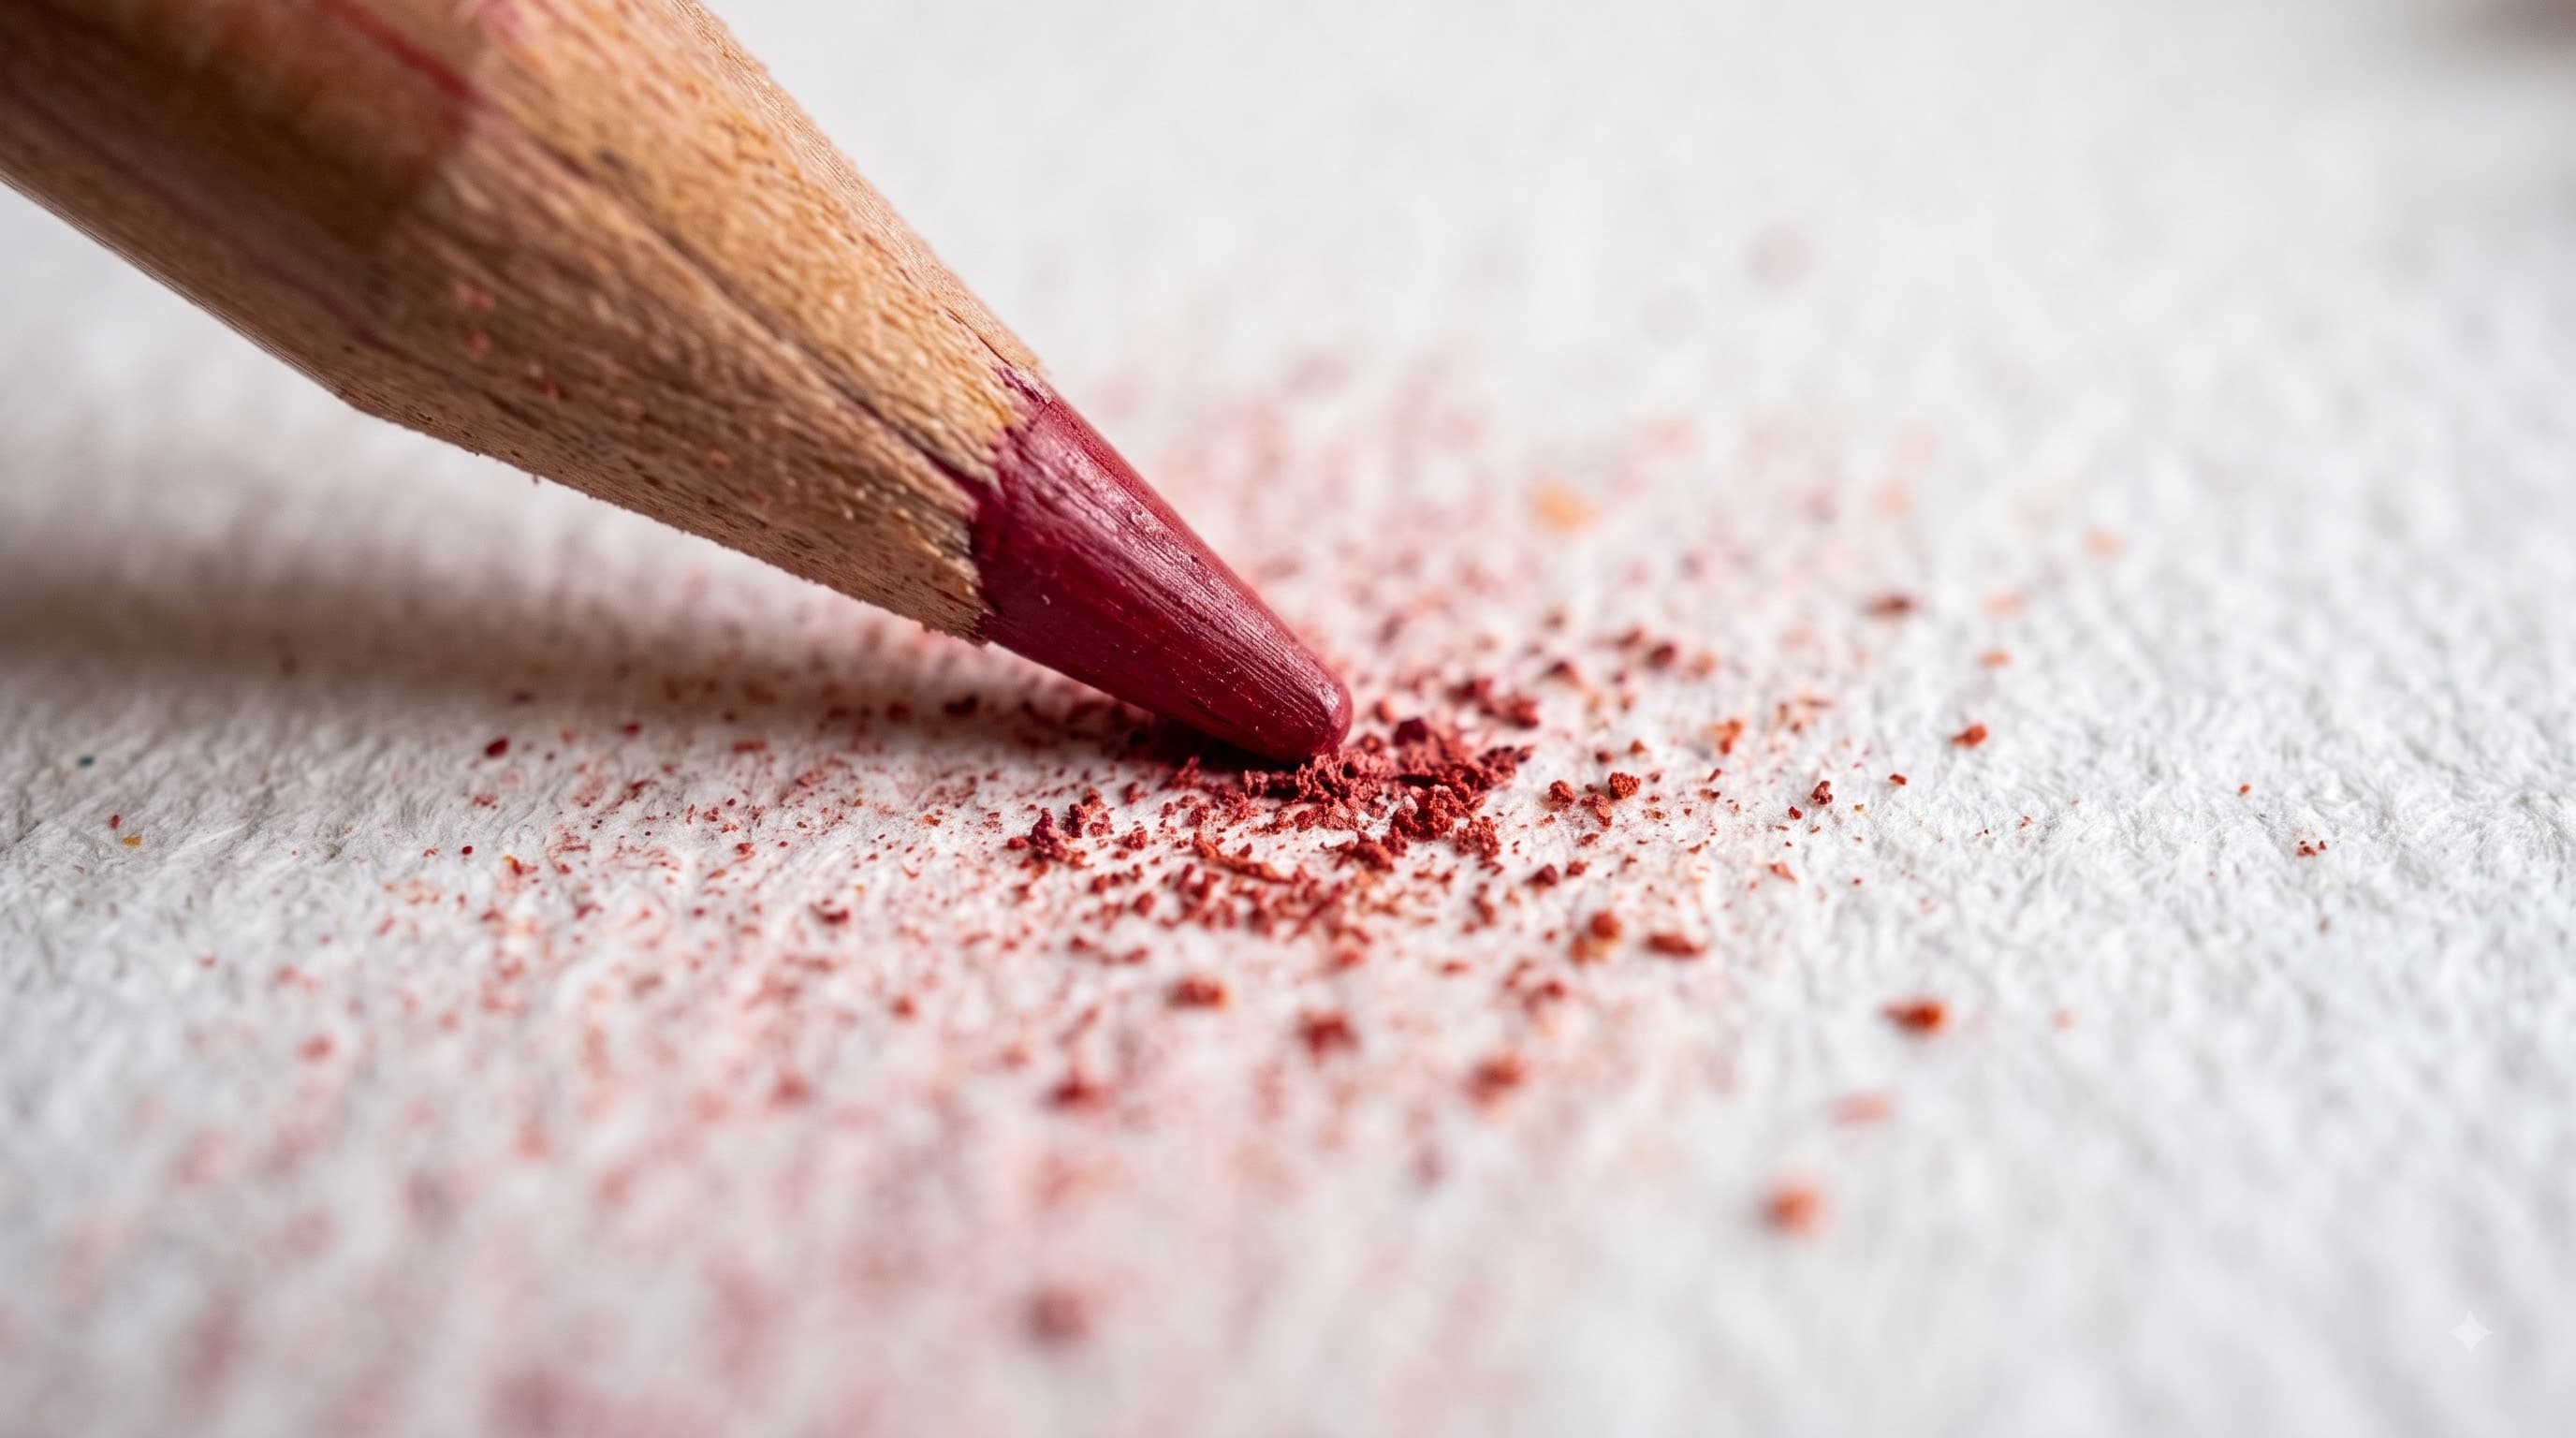
A colorless blender pencil contains binder without pigment. When rubbed over colored pencil strokes, it physically breaks down the wax binders, filling in the white teeth of the paper and producing a polished, shiny, painterly effect known as burnishing.
Method C: The White Pencil Melt
If you do not have a colorless blender, your standard white colored pencil works wonders! Polishing a multi-colored gradient with a white pencil softens harsh transitions and adds a pastel-like glow to highlights.
Step-by-Step Practice: Elevating a Printable Coloring Page
Ready to put these ideas into action? Grab one of our free printable coloring pages—such as a simple fruit, flower, or animal print—and follow this straightforward workflow:
- Determine Your Light Source: Before applying any color, decide where the light is coming from (e.g., top-left corner). The surfaces facing the light source will be your brightest highlights; the opposite sides will hold deep shadows.
- Lay Down Base Highlights: Fill in the light-facing areas using your lightest color pencil with gentle circular strokes.
- Build the Midtones: Color the middle sections of the object, gently overlapping the highlighted areas so the colors intermingle naturally.
- Add Core Shadows: Apply a darker shade along the edges furthest from the light source. Pro Tip: Instead of using pure black for shadows, try dark blue, purple, or brown to keep colors vibrant!
- Burnish and Smooth: Finish by blending the colors together using a colorless blender or a light-colored pencil.
Top Tips for Parents and Educators
- Keep it Low-Pressure: Focus on the process rather than perfection. Art is a practice of exploration!
- Provide Varied Coloring Sheets: Offer a mix of large-patterned printable sheets for practicing smooth gradients and detailed scenes for fine-motor control.
- Rotate Colors Together: Show kids how combining blue and yellow creates green right on the page, encouraging playful experimentation.
Conclusion
Mastering shading and blending with colored pencils opens up a universe of creative possibilities. By practicing simple techniques like pressure control, circulism, and smooth layering, beginners of all ages can transform simple outline drawings into stunning visual stories. Explore our collection of free printable coloring pages today, pick up your colored pencils, and watch your artwork come to life with rich depth and realistic dimension!
Explore Coloring Categories
Trending Printable Coloring Sheets
Our most popular free coloring pages ready for instant download.
Sirius Brawl Stars Coloring Page – Free PDF
Sirius Brawl Stars Pose Coloring Page – Free PDF
Sirius Pins Brawl Stars Coloring Page – Free PDF
Sirius Icon Brawl Stars Coloring Page – Free PDF
Dragon Crow Brawl stars Coloring Page – Free PDF
Dragonkin Crow Brawl Stars Coloring Page – Free PDF
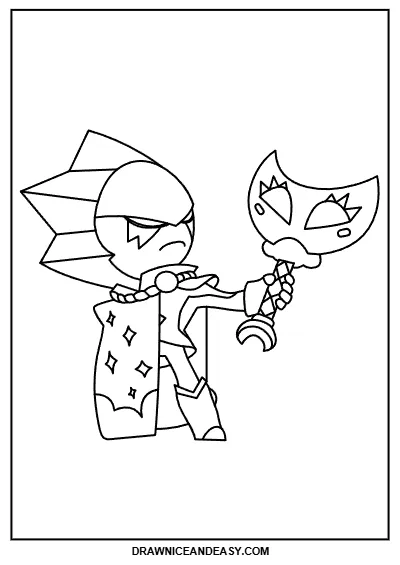
Sad Sirius Brawl Stars Coloring Page – Free PDF
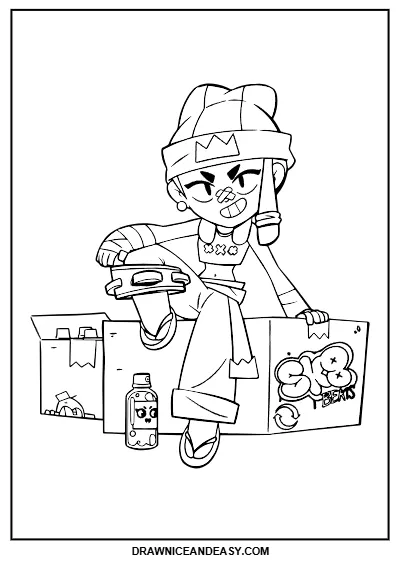
Mina Sitting On Box Brawl Stars Coloring Page – Free PDF

USA 250 Bold Anniversary Numbers Coloring Page – Free PDF
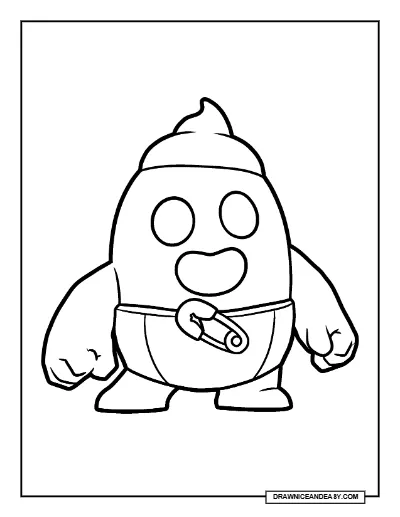
Poop Spike Brawl Stars Coloring Page – Free PDF
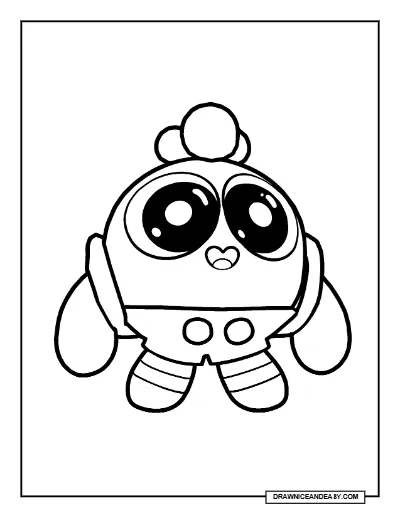
Toon Spike Brawl Stars Coloring Page – Free PDF